
 This article is relevant to North American customers only.
Table of contents
- Overview
- The basics
- Creating a placeholder product
- Next steps after the order
- Available labs and specifications
- The process
- The takeaway
Overview
This guide covers everything you need to know about designing and printing custom trader cards made to order (i.e., using a placeholder image in your shop and creating graphics after customers have placed their orders).
It explains when and why you must use a placeholder product, how to collect player information, and how to prepare files for lab fulfillment.
The basics
Trader cards are offered by several of GotPhoto's lab partners. Product setup and requirements vary for each lab.
Some lab trader card products collect player information at checkout, while others do not.
[Required] If your lab’s trader card product does not collect player information, you must create a product package that includes:
- Your lab's trader card product
- A corresponding placeholder product created in the Production tab [Pro and Enterprise only]
Why is this required?
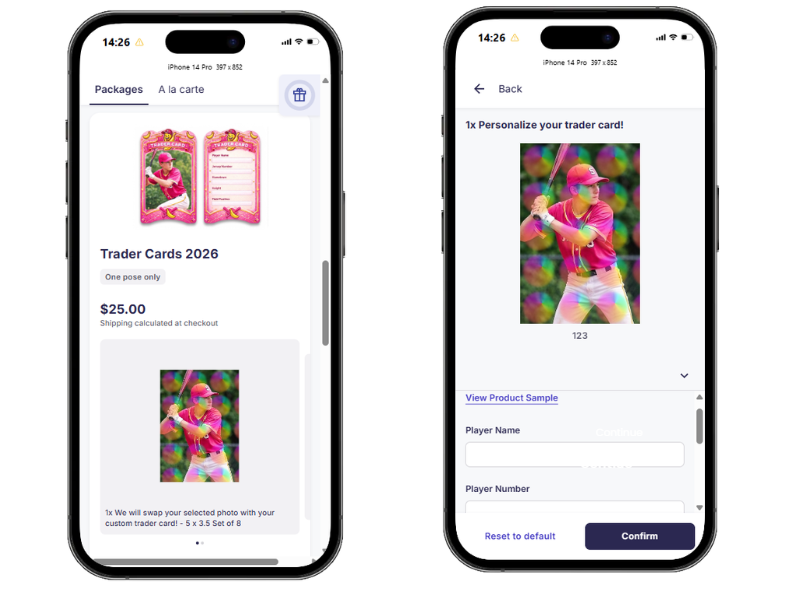
- The placeholder product collects player data (e.g., name, jersey number, team)
- The lab product alone does not capture this information
Without this setup:
- No player information will be collected
- You cannot create the trader card design
- Orders may be delayed or unusable
This setup involves creating the graphics yourself using the customer-input player information collected through the placeholder product.
Creating a placeholder product
Follow these steps to create a placeholder product that collects player information.
This workflow is only needed if your lab’s trader card product does not collect player information at checkout.
Before you begin: Review the trader card product you want to offer and confirm whether it includes input fields such as player name, jersey number, or team name.
- If the product collects player information, you do not need a placeholder product.
- If the product does not collect player information, you must create a placeholder product and include it in a package.
This ensures all required player data is collected at checkout and helps prevent incomplete or unusable orders.
Step 1: Create the product
- Navigate to the Production tab and select My Products
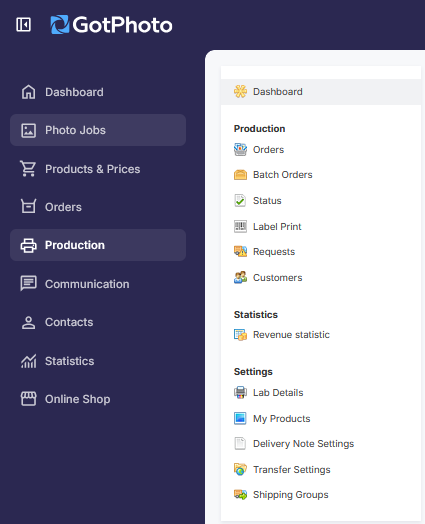
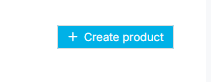
- Click + Create Product
- Set a name (visible to customers)
- Enable Manual Revision
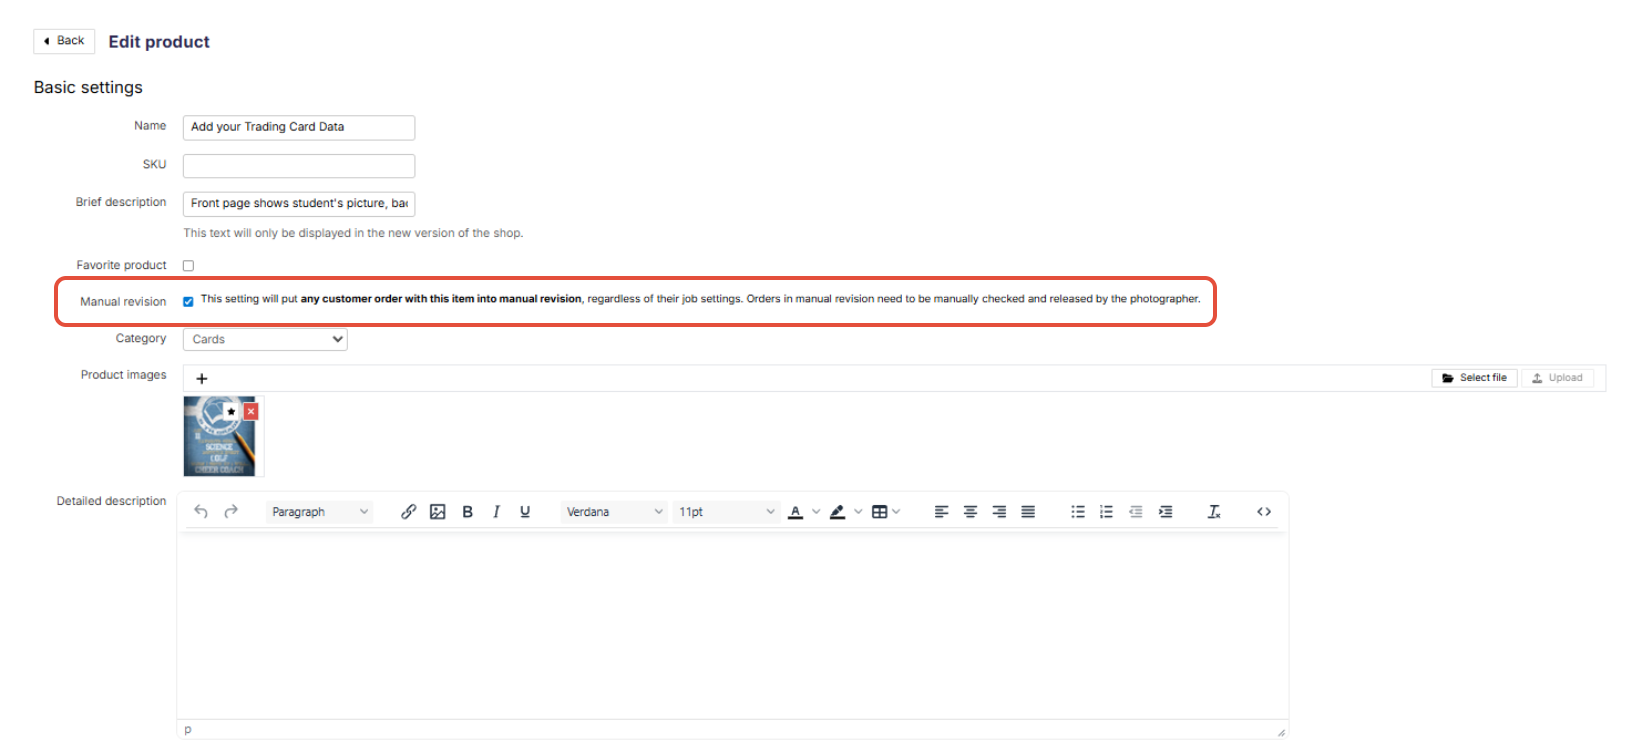
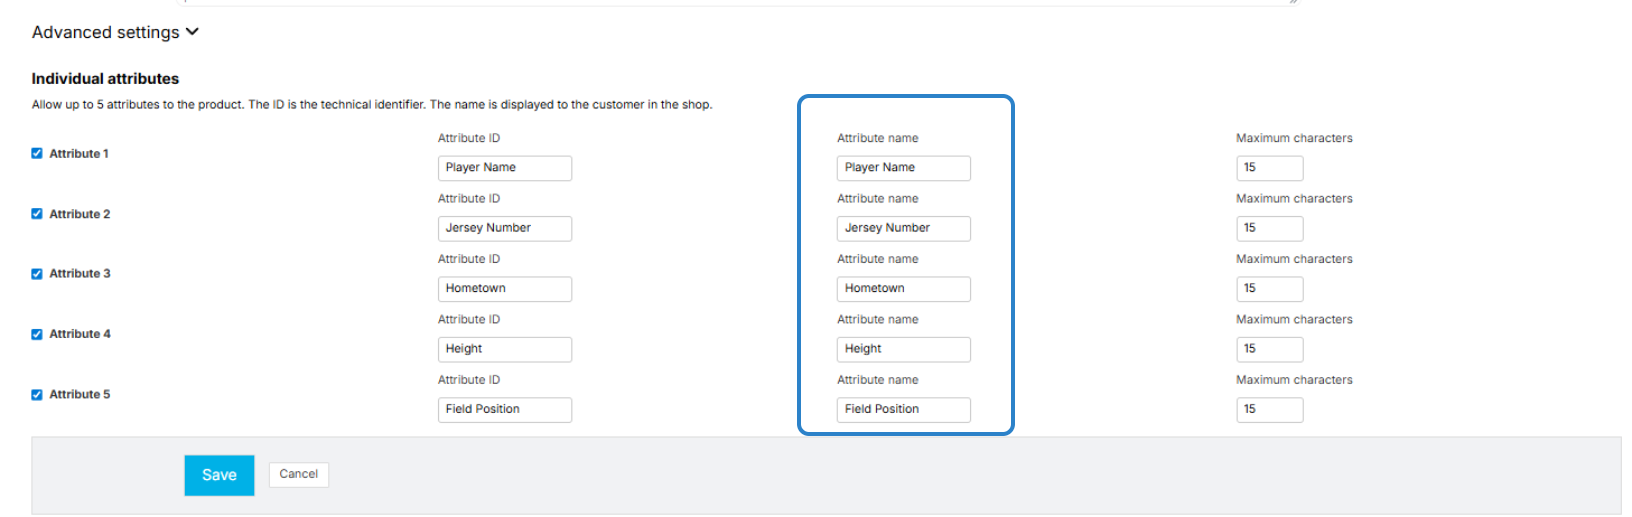
- Open Advanced Settings
- Select up to 5 attributes
- Define fields such as:
- Player name
- Jersey number
- Team name
- Birthdate
- Click Save
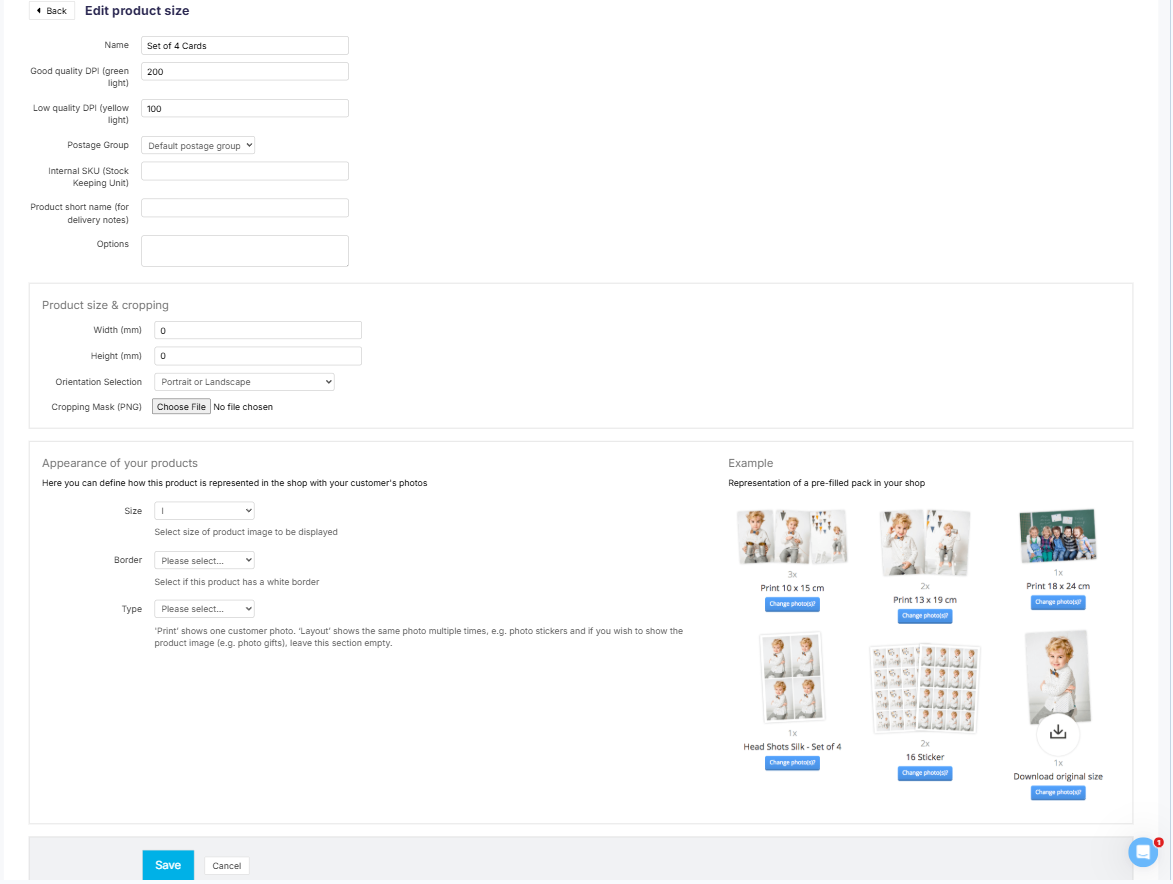
Step 2: Add a product size
- Click Add new product size
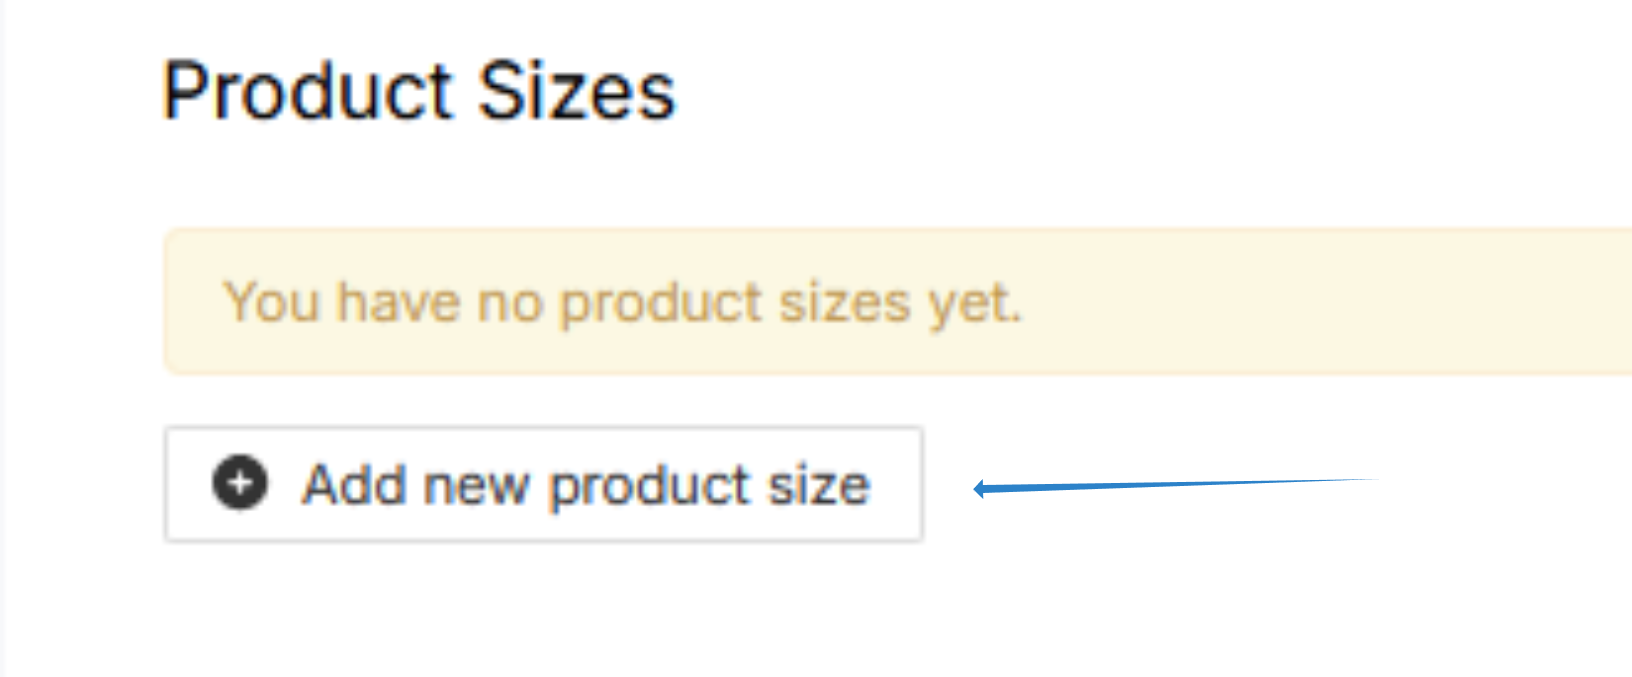
- Name the size (customer-facing)
- Leave other fields unchanged
- Click Save
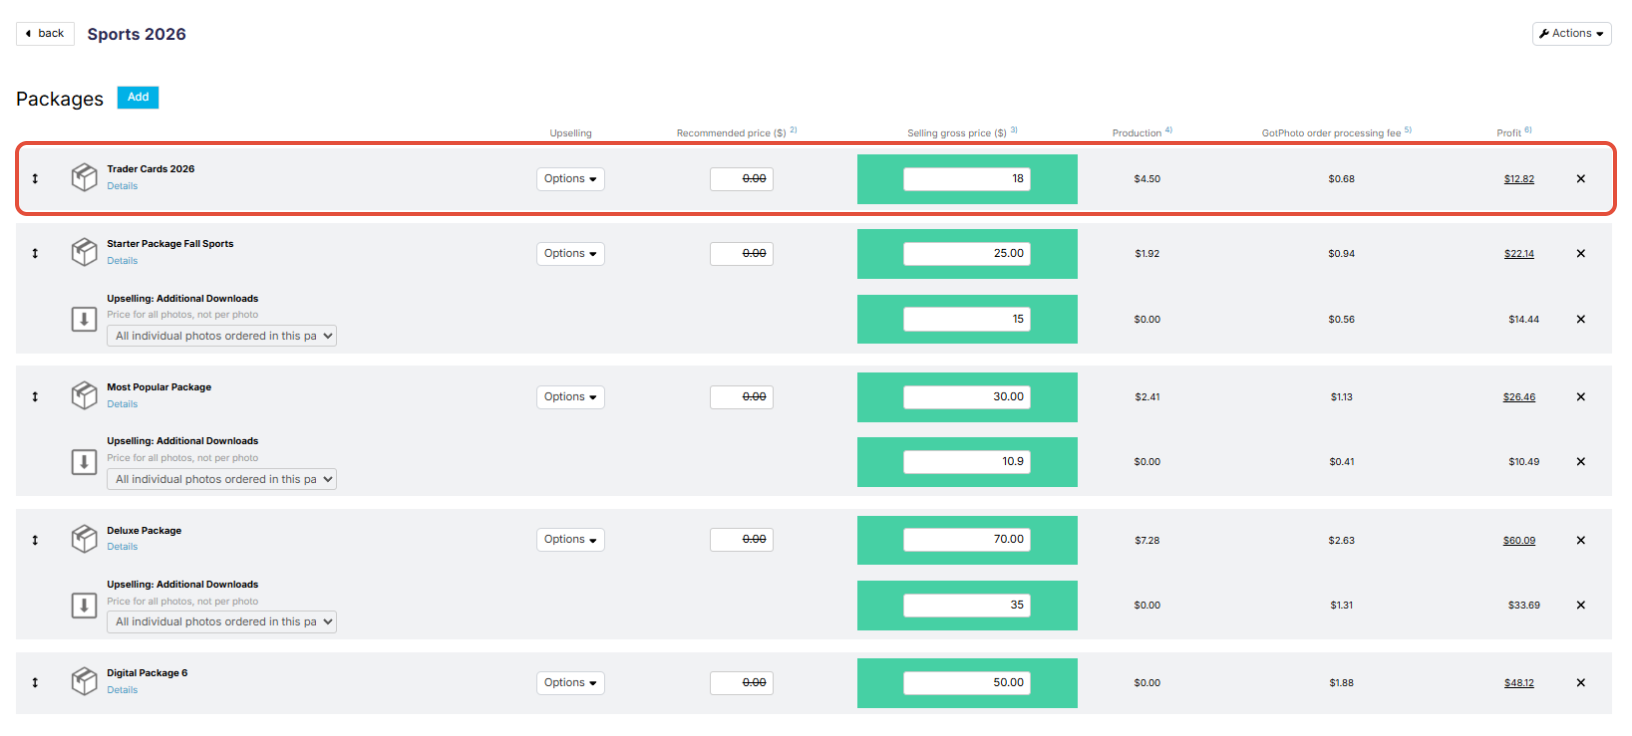
Step 3: Add to a product package [Required]
- Go to Products & Prices → Product Packages
- Click Create a new product package
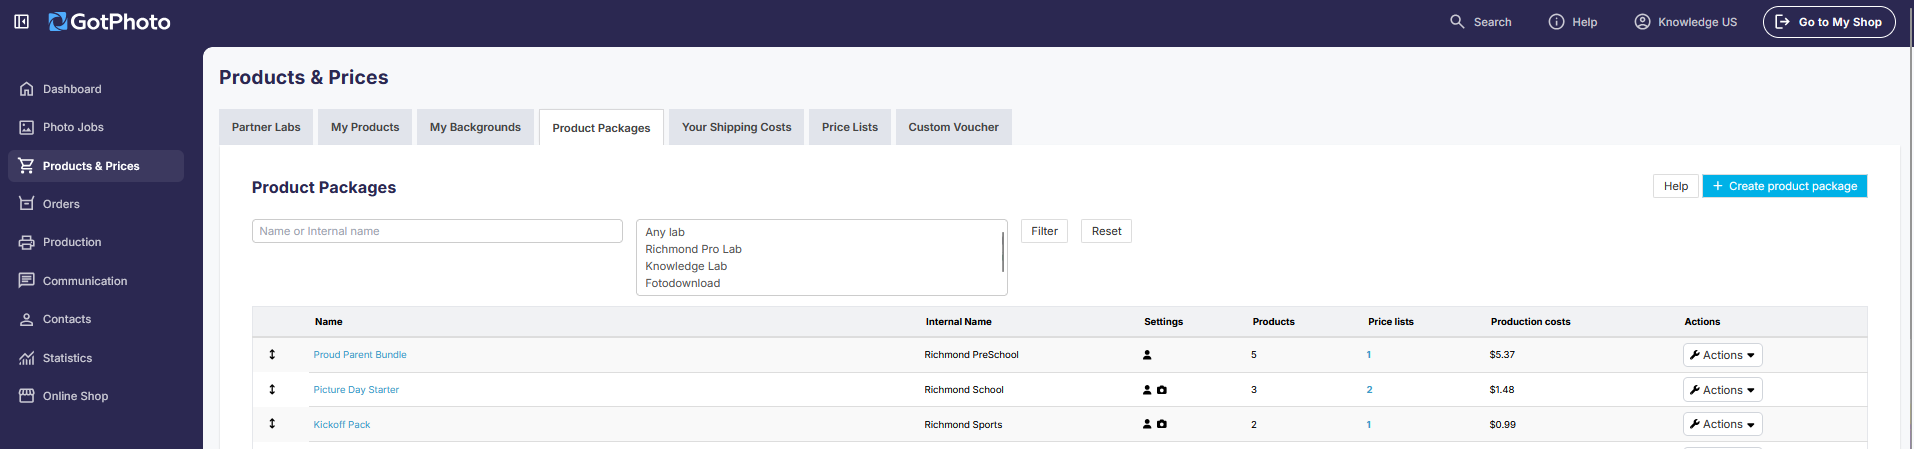
- Add both:
- The lab trader card product
- Your placeholder product
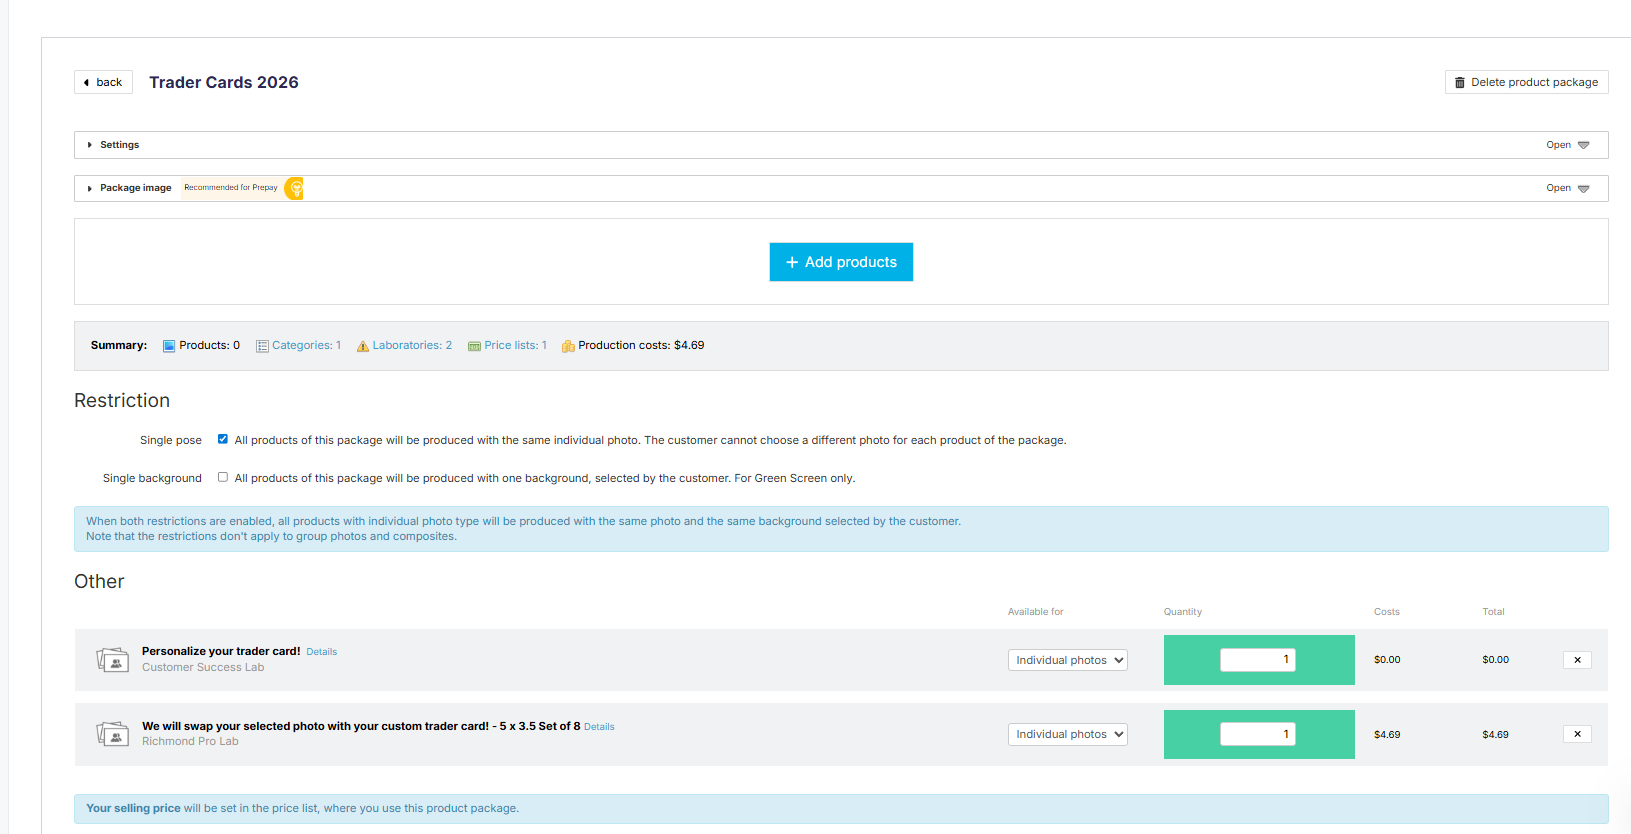
- Configure:
- Restrict photo type
- Rename lab product to clarify pose selection
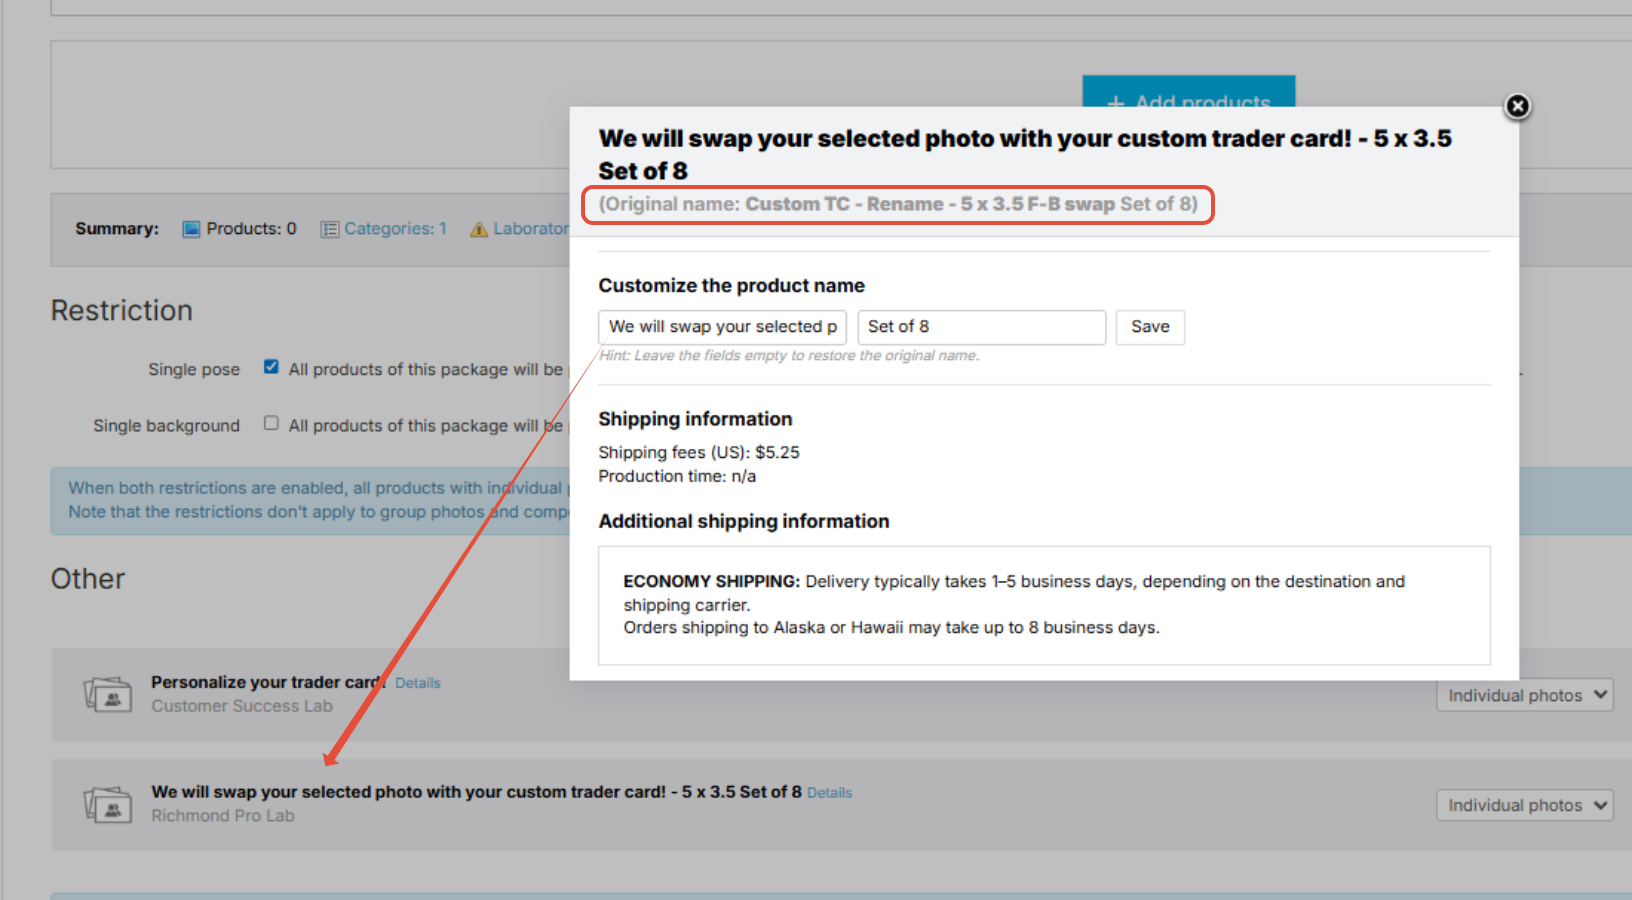
Upload a preview image and restrict the package to a single pose to prevent customers from selecting different images for both products.
Add the package to your price list:
[Optional] Test your price list in a demo job:
Next steps after the order was placed
- Create graphics using collected player data
- Verify the accuracy of all customer-entered text
- Replace the image in the order
[Critical] Customer-entered text cannot be changed after the order is placed.
If needed, contact the customer before releasing the order.
Available labs and specifications
Follow each lab’s required dimensions carefully.
Use PNG overlays for alignment and turn them off before exporting.
[Best practice] Add a 0.25" safety margin.
The process
When an order is placed
- Open order in manual revision

- Create the trader card design on your end, using your preferred tool

- Turn off the overlay layer

- Export the file (RGB, 300 DPI, flattened)
- On the order page in Manual Revision, click Adjust Photo

- Upload the new file

- Save without cropping
- Verify the image

- Release the order
The takeaway
If the lab’s trader card product does not collect player data, create a placeholder product to collect it and add both products to a package. After ordering, use manual revision to review the order and swap the selected image with the final trader card graphic. This ensures all data and images are correct before production.