
Overview
If you did not use QR Cards during your photo shoot, you can still tag each subject manually to generate unique access codes for each of them. In this article, we'll review the process for manually tagging images and activating their access codes.
Manually Tagging Photos
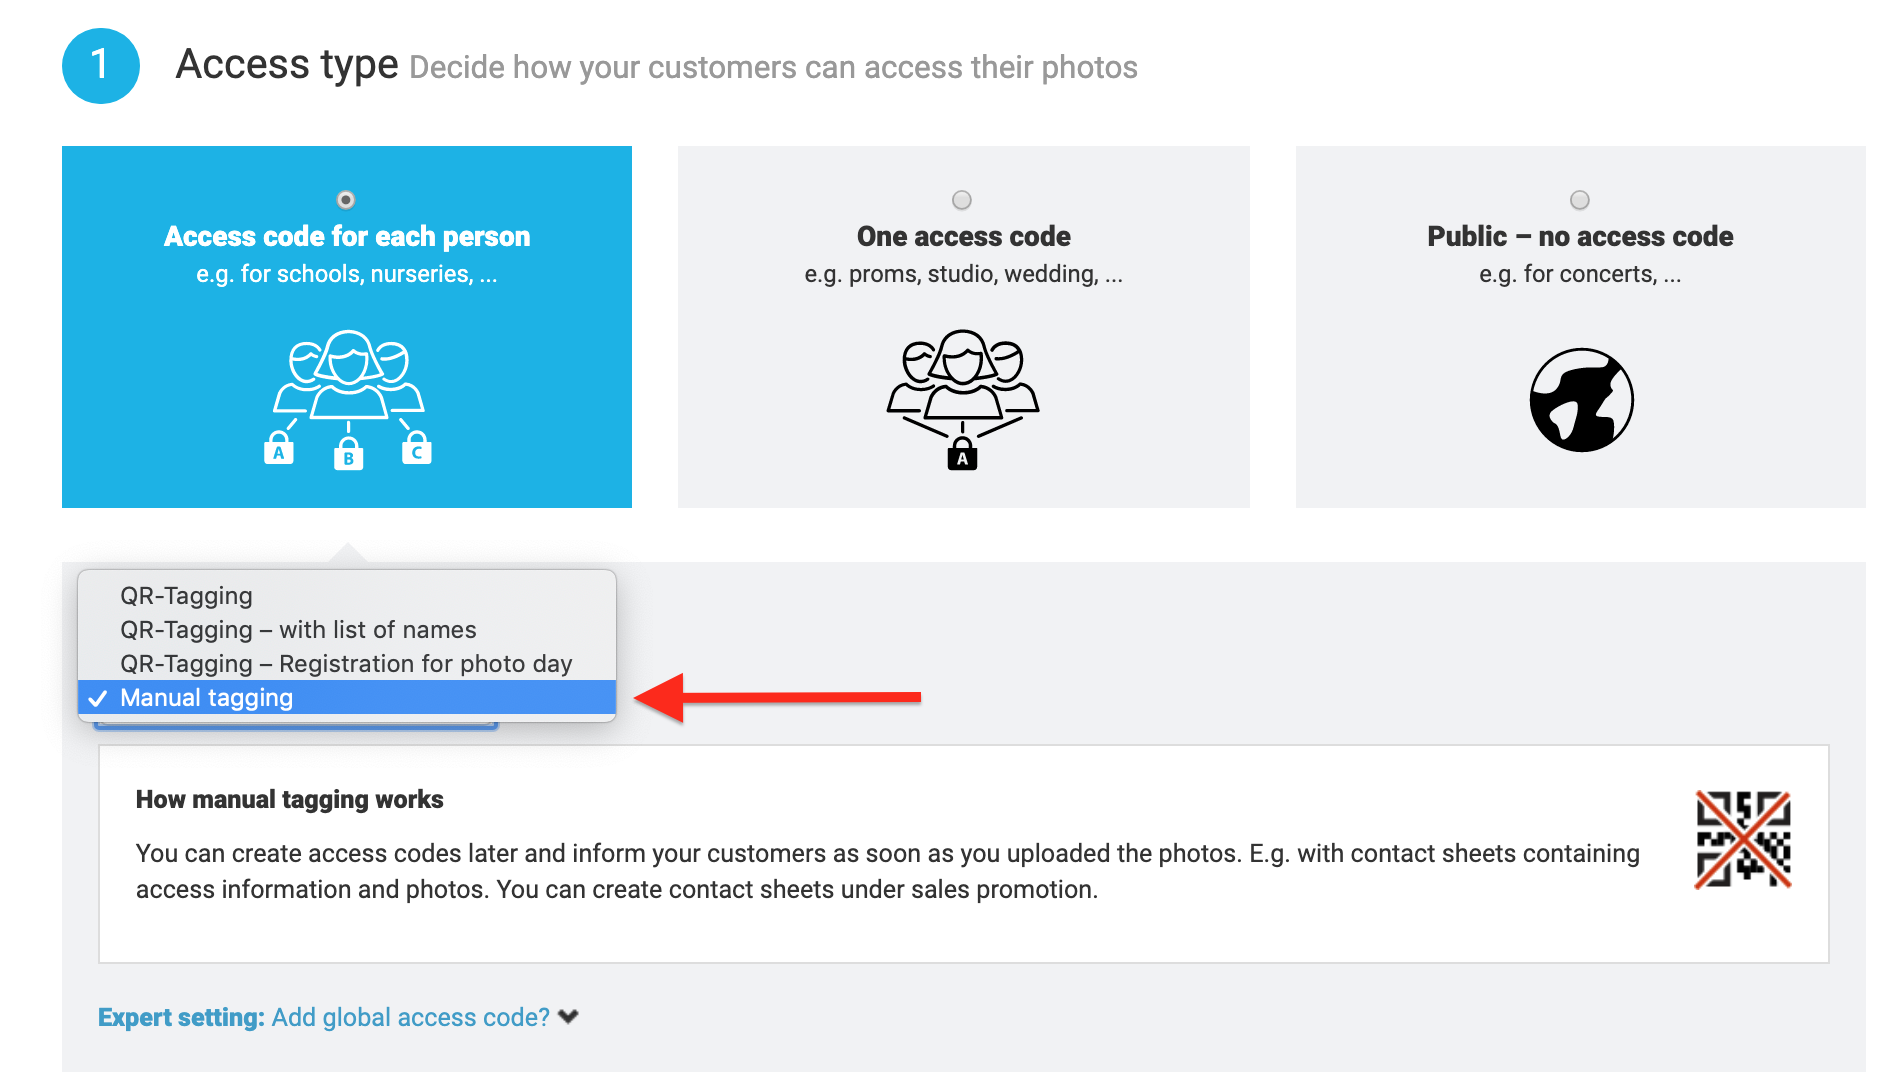
- When setting up your Photo Job, make sure to select Access code for each person and then Manual tagging from the dropdown selection. Don't forget to click Save settings before leaving the page.
- Next, upload your photos in Photo Management. Once they have finished uploading, you will need to make sure that each person has their images placed next to each other. Manual Tagging won't work if the images are in a random order.
- Select the first image of each subject and click Add random access code(s) under Step 2. This will place a green QR code symbol at the top right of the thumbnail to show you that an access code has been assigned. This code will apply to all images following it until the next image with a green QR code symbol.

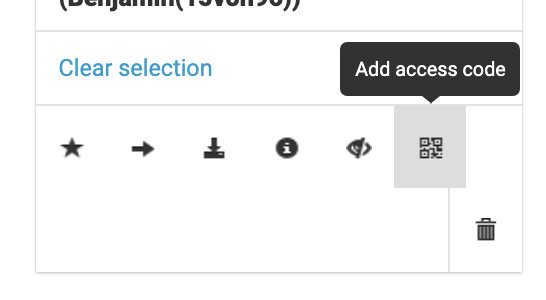
- If you want to add your own access code instead of a random code, again select the first image and look under the image preview on the right. You will see a QR code symbol that allows you to add an access code. Click here to view, edit, or create an access code.
Access codes can only contain numbers and letters. Special characters and spaces are not permitted. - Once you are satisfied with the access code, click Save to apply it to the image(s).

Note: Group photos cannot be tagged as they do not require an access code. Every code within the album will be able to view and purchase the Group photos in the online shop.
Activate Access Codes
After you have confirmed that all subjects have been assigned an access code, you can proceed to activating their access codes:
- Once the photos are in the right order and each subject has their first photo highlighted in green, click on Activate access codes.

- In the following popup, click the blue Activate access codes now button.

- After the access codes have been activated, each subject's photo will be grouped under their access code.
The Takeaway
Even without QR cards, you can take advantage of GotPhoto's tagging capabilities by setting up manual tagging, ensuring a well-organized display in your online shop for seamless viewing and purchasing.